|
MGS2’s boss fights likewise formally recalled boss fights from MGS1.
Despite their formal guise, they denied the actor victory and consequently
refused the player redemption from Snake’s failure in the Tanker Chapter.
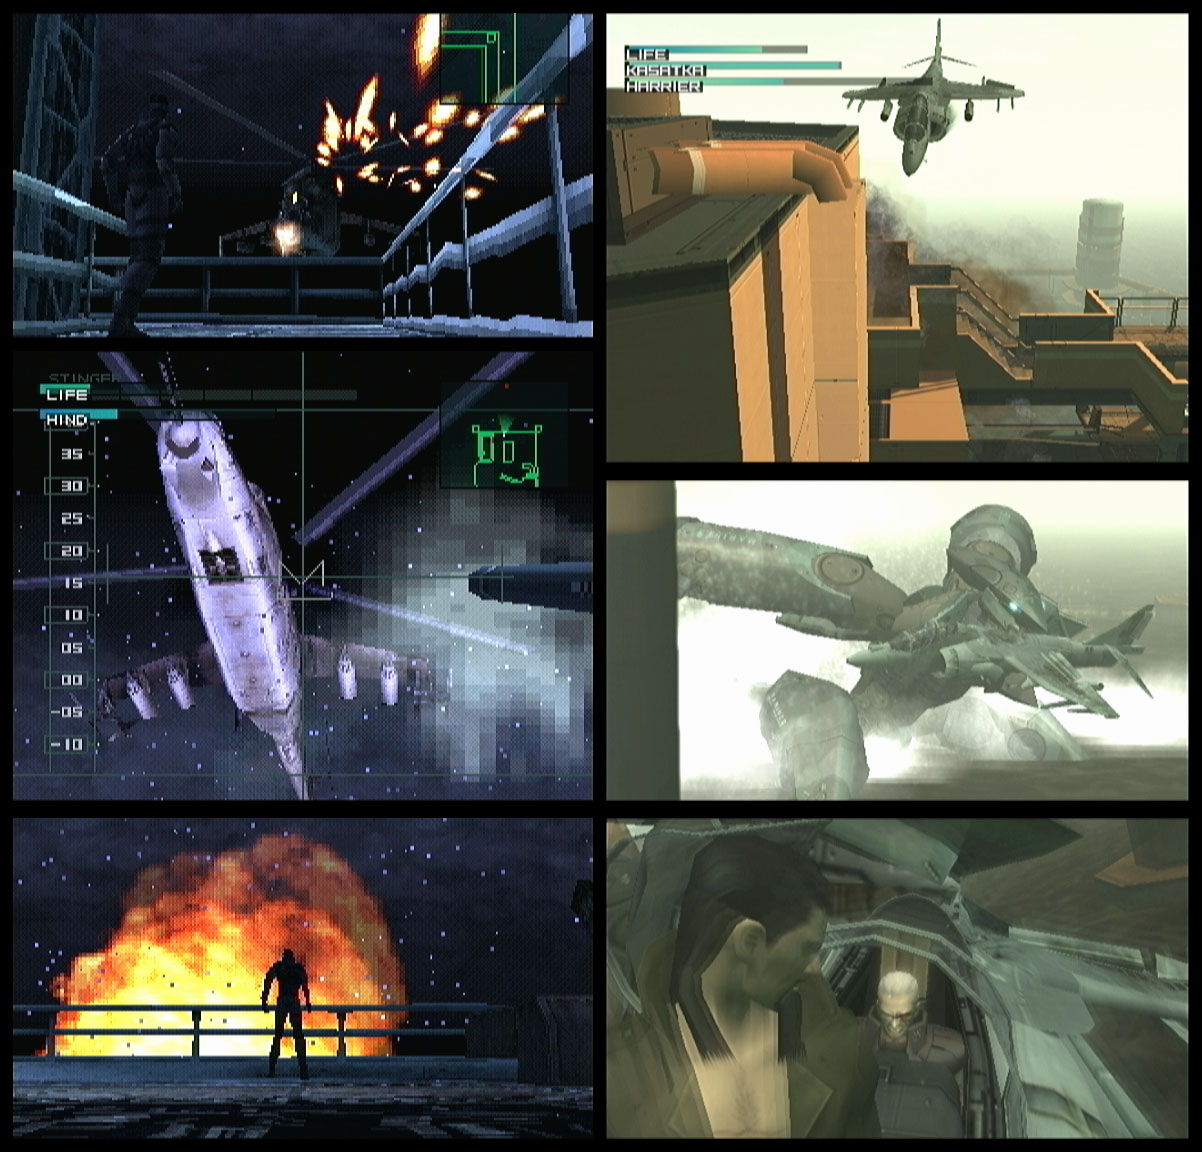
Raiden’s fight against the Harrier jet formally evoked Snake’s fight against the Hind-D helicopter in
MGS1. Snake had used a Stinger missile launcher against a flying machine that could attack while hovering. He fought the
Hind-D from the roof of a great tower while the machine attacked him from all sides. The helicopter destroyed part of the environment halfway through the fight, after which it dipped below the roof’s perimeter to attack Snake by surprise. After the player had drained the Hind-D’s lifebar, the machine nearly destroyed the remainder of the area. Raiden likewise used the Stinger to fight the hover-capable Harrier in an open, elevated area—an industrial bridge—that forced him to watch for attacks from all sides. The Harrier sometimes dashed far into the distance and hid within the light of the sun to catch Raiden by surprise. A brief cutscene interrupted the fight midway, during which the Harrier
destroyed part of the bridge, and the plane nearly destroyed the rest of the
bridge after the player had drained its
lifebar.MGS1 had rewarded both Player and Actor Objectives at the same time: Snake had destroyed the Hind-D and appeared to have killed its pilot. The helicopter fell to earth shortly after the player had drained its lifebar, and
MGS1 visually narrated that its pilot—Liquid Snake, Solid Snake’s
brother and main antagonist—had died in the crash. Liquid hadn’t actually died, but the cinematic narration gave the player a sense of his actor’s accomplishment. Snake drew the conclusion himself: “That takes care of the cremation.” MGS2 failed to reward formally similar Player Objectives with
the actor’s success. Raiden destroyed neither the Harrier nor its pilots after the player had drained its lifebar. Metal Gear Ray emerged from the ocean, snatched the plane in its maw, and carried it to safety.
MGS1 had implied the pilot’s physical destruction, while MGS2 cinematically narrated that Raiden had
minimally hurt one of the Harrier’s pilots—Solidus Snake, Raiden’s main
antagonist and Solid Snake’s other brother.
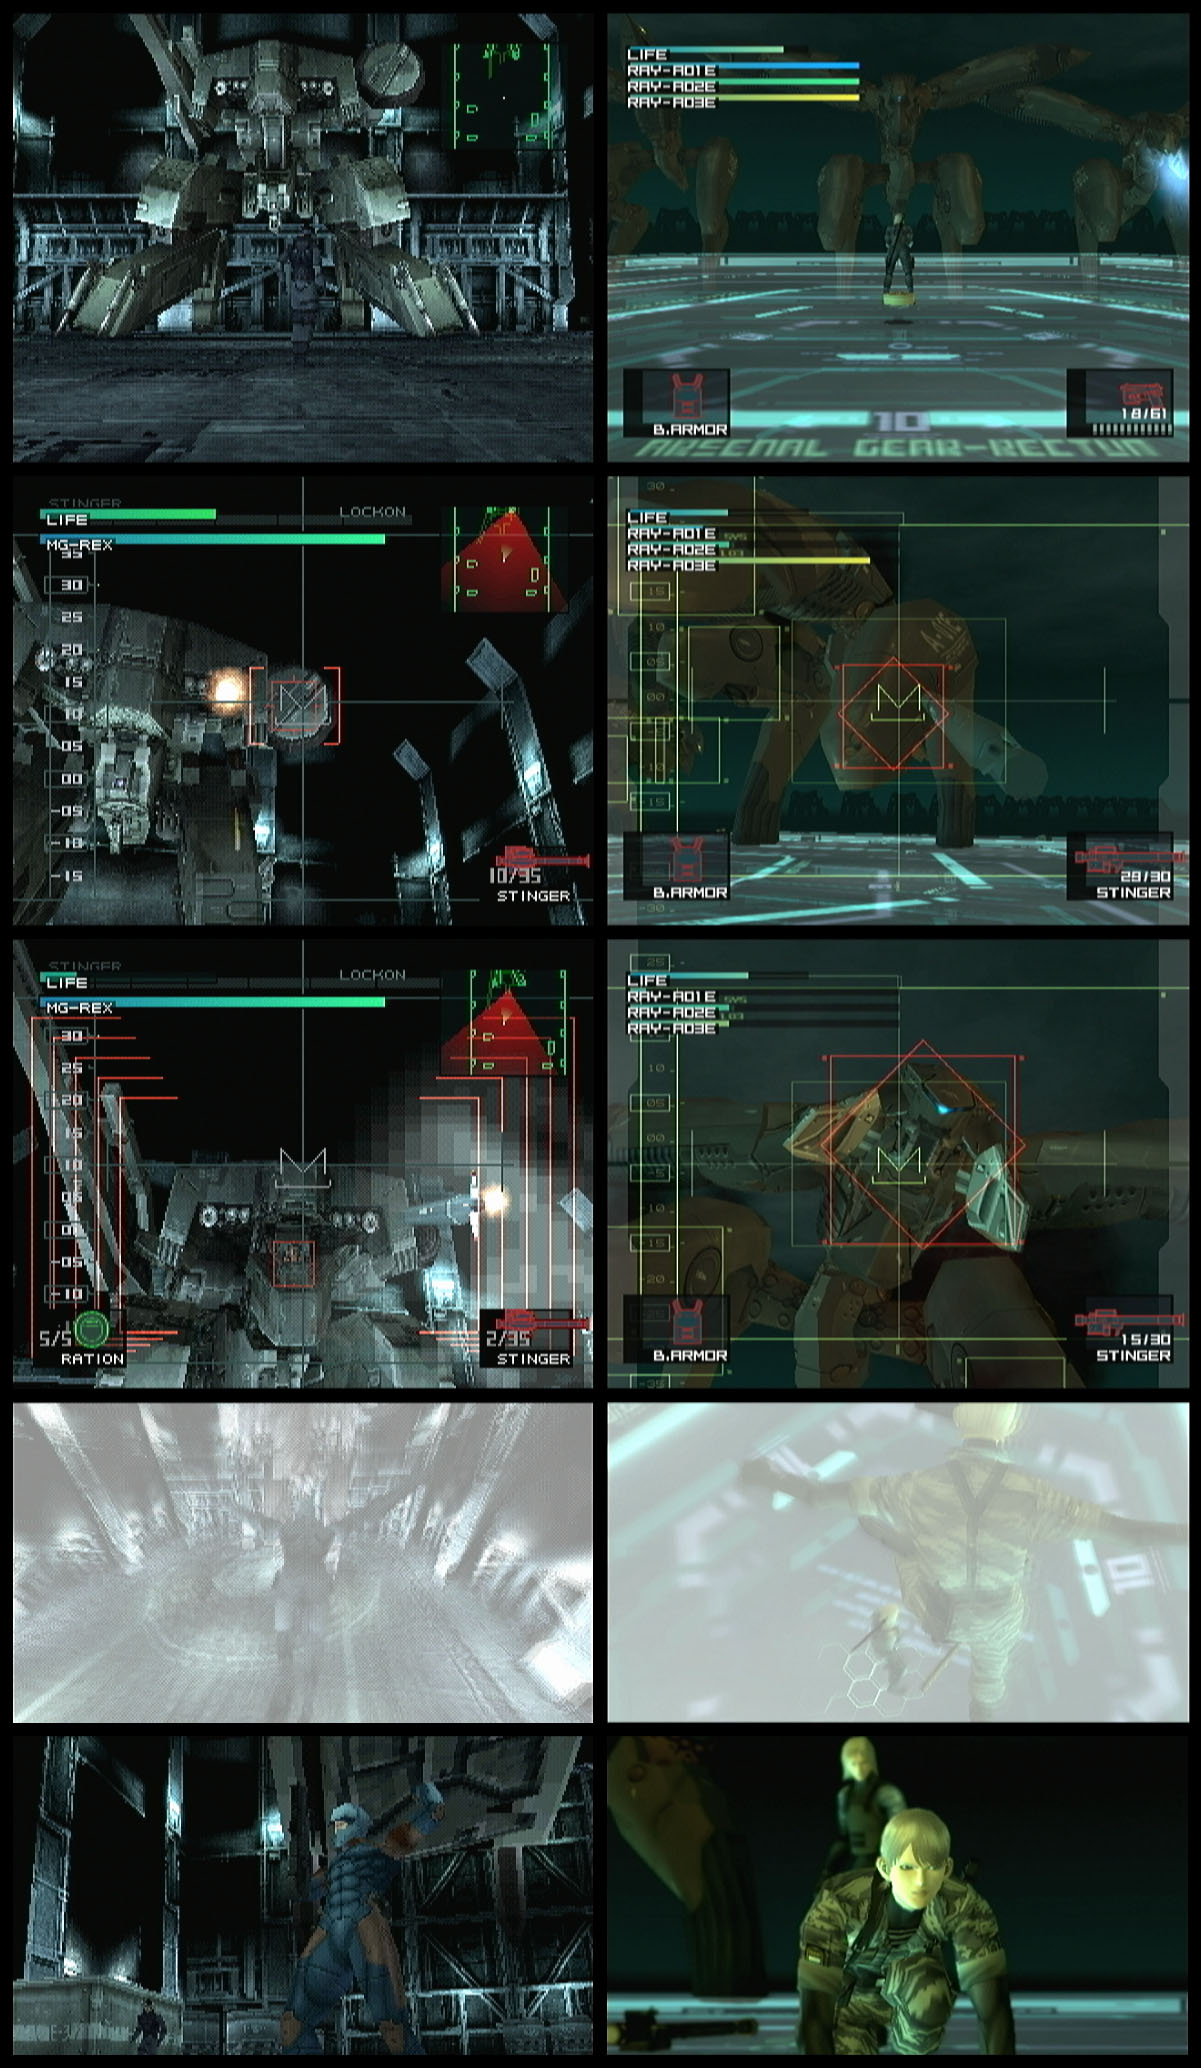
Raiden’s battle against twenty-five Metal Gear Rays bore both obvious and subtle formal resemblances to Snake’s fight against Metal Gear Rex.
Rex had featured a stocky torso atop a broad bottom, and Snake had used Stinger missiles to attack a radome sensor located off-center on Rex’s chassis. His attack didn’t work, and Rex would have trampled him had
the ninja not intervened. Snake then attacked the cockpit located in Rex’s mouth, all while avoiding missile volleys, machinegun spray, and laser attacks.
Ray’s slim legs, however, supported an overshadowing carapace. Raiden likewise used Stingers first to strike an off-center part of Ray’s body—the knee—after which he attacked Ray’s open maw.
Raiden attacked each Ray with patterns that abstractly compressed Snake’s
whole battle against Rex, all while avoiding nearly identical assaults.
Raiden’s match against twenty-five Rays ended anticlimactically, as had his fight against the Harrier.
Snake nearly got stomped by Rex because his attacks hadn’t been strong enough, yet
MGS2 put Raiden under Ray’s foot when the actor actually gave up before the player could destroy the last three machines. (“It’s no use,” he said, after which Solidus taunted, “I expected a little more fight than that.”)
MGS2’s ninja intervened to save Raiden from getting crushed, thereby reproducing all formal elements from
MGS1’s fight against Rex except the actor’s triumph. Solidus destroyed the remaining Rays instead.
|